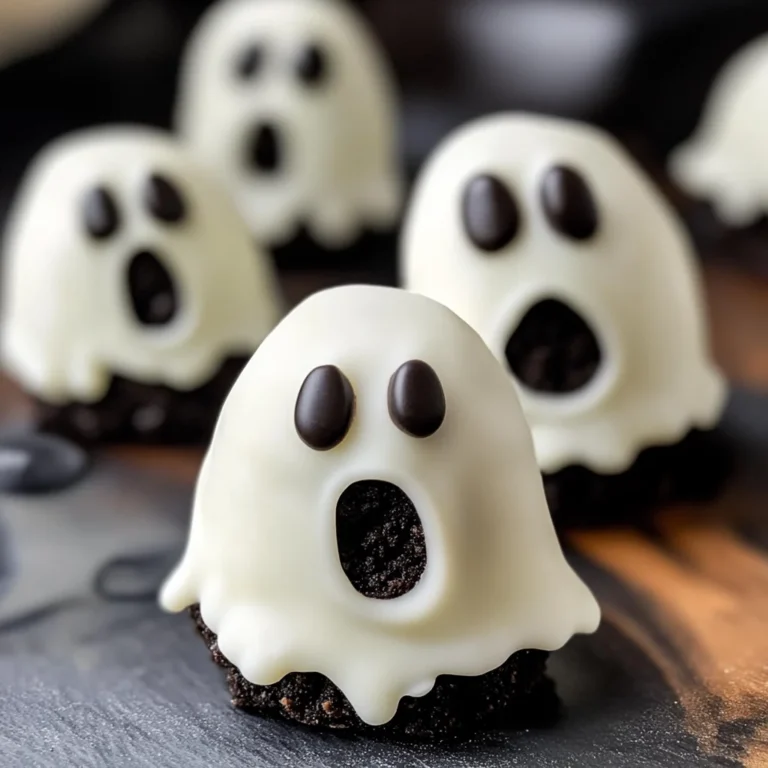
Halloween Cake Pops
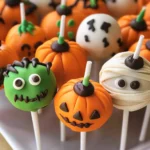
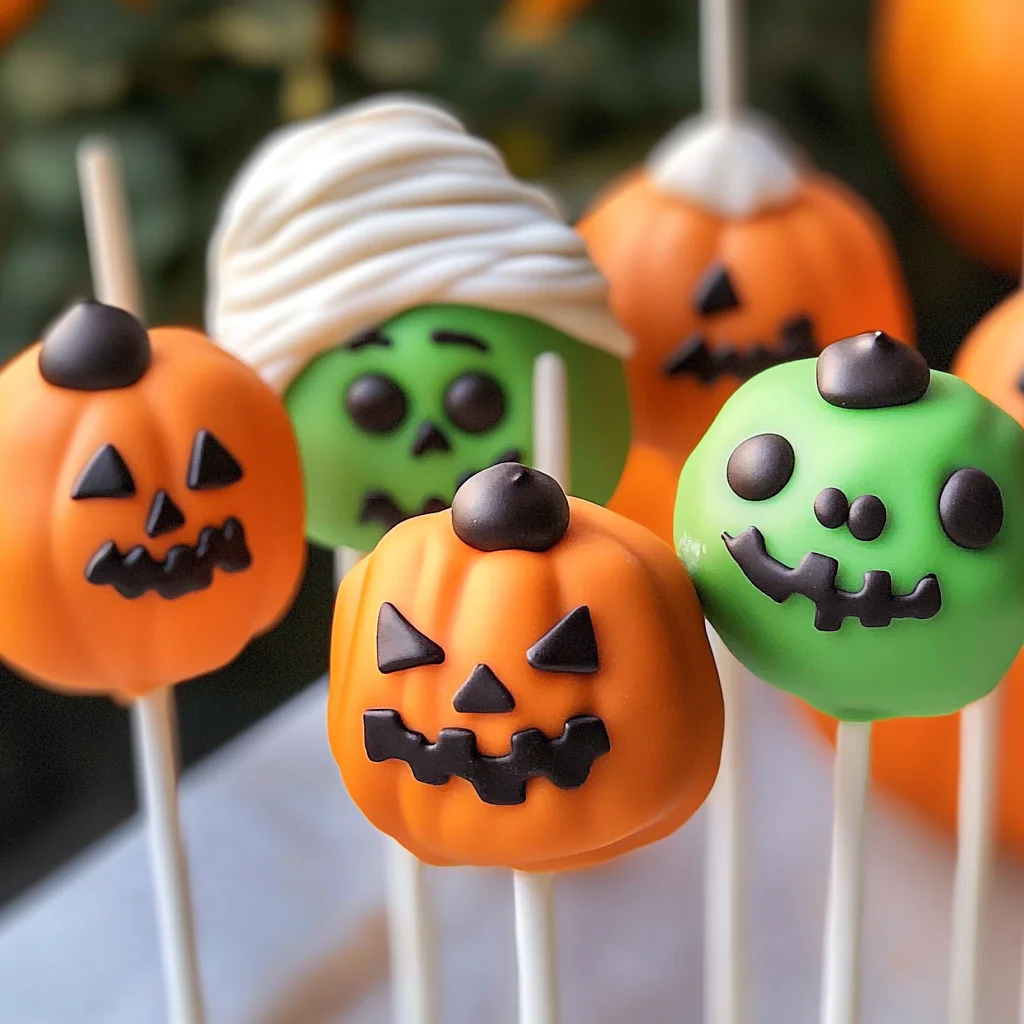
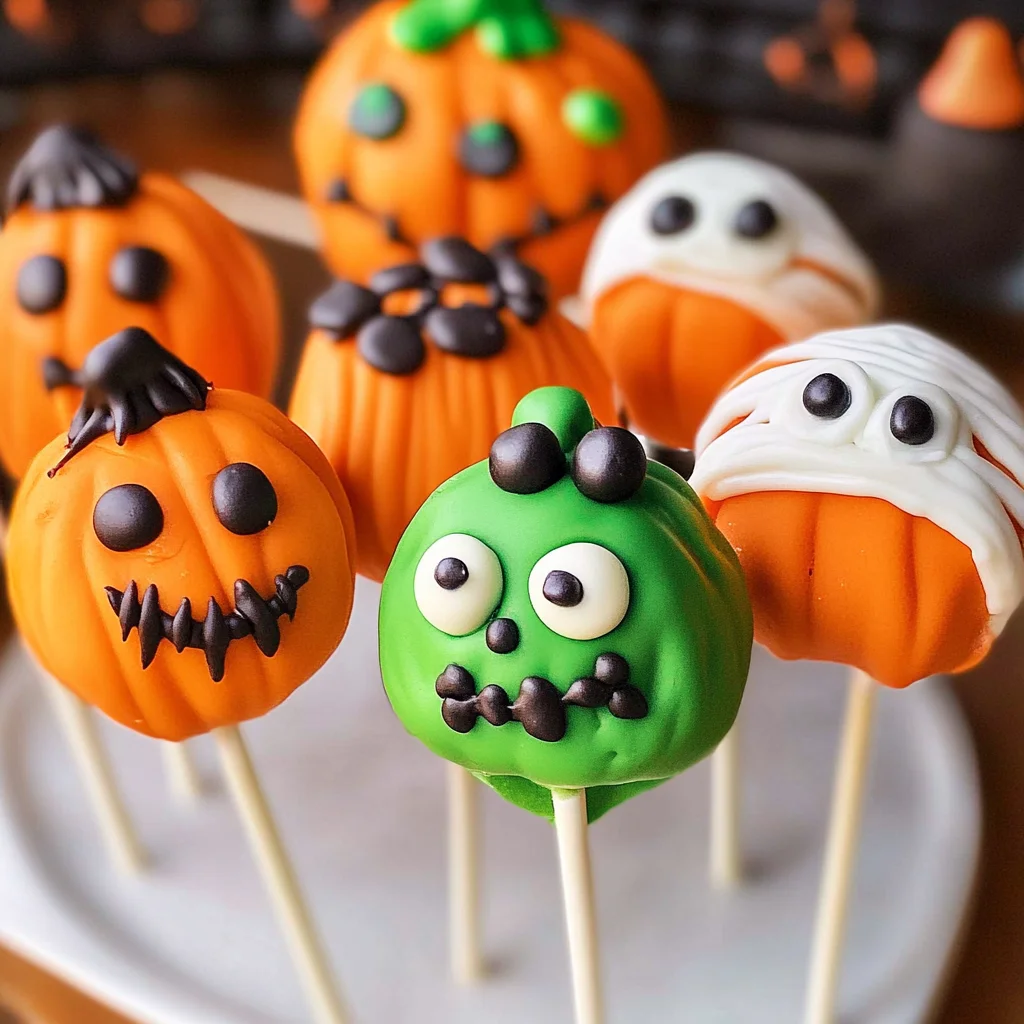
Add these spooky cake pops to your next Halloween party. Halloween Cake Pops are not only delicious but also visually captivating. These bite-sized treats can be decorated to resemble festive characters like pumpkins, mummies, and Frankenstein. Perfect for gatherings, they appeal to both kids and adults alike, making them a hit at any celebration.
Why You’ll Love This Recipe
- Fun and Festive: These Halloween Cake Pops are perfect for adding a playful touch to your holiday festivities.
- Easy to Customize: Use your favorite cake mix and toppings to create unique designs that suit your taste.
- Great for Parties: They’re ideal for sharing at Halloween parties, school events, or family gatherings.
- Kid-Friendly Activity: Involve the little ones in decorating these cake pops for a fun bonding experience.
- Deliciously Decadent: The combination of moist cake and sweet frosting creates an irresistible treat.
Tools and Preparation
To create your Halloween Cake Pops efficiently, you’ll need some essential tools. Having the right equipment can make the process smoother and more enjoyable.
Essential Tools and Equipment
- Mixing bowl
- Electric mixer
- Baking pan
- Microwave-safe bowl
- Refrigerator or freezer
Importance of Each Tool
- Mixing bowl: A good mixing bowl is crucial for combining ingredients smoothly without spills.
- Electric mixer: This tool saves time and effort when beating the cake batter to achieve the perfect consistency.
- Baking pan: Choosing the right size ensures even baking, which is key for consistent cake texture.
Ingredients
To make these delightful Halloween Cake Pops, gather the following ingredients:
- 1 box Favorite cake mix
- 1 3.4 oz box instant pudding mix
- 4 eggs
- 1 cup water
- 1/3 cup vegetable oil
- 1 cup Frosting
- Candy Melts
- Toppings – sprinkles, candy eyes
How to Make Halloween Cake Pops
Step 1: Preheat the Oven
Preheat your oven to 350°F. Spray your 13 x 9 pan with vegetable pan spray to prevent sticking.
Step 2: Prepare the Batter
In a large bowl:
* Combine the cake mix, pudding mix, eggs, water, and oil.
* Beat at medium speed for about 2 minutes until well blended.
* Pour into the lightly greased cake pan.
Step 3: Bake the Cake
Bake for 30-40 minutes or until a toothpick inserted in the center comes out clean. Allow it to cool in the pan for about 10 minutes before removing it.
Step 4: Crumble the Cake
In a large bowl:
* Use your hands or two forks to crumble the cooled cake until there are no large chunks remaining.
Step 5: Mix with Frosting
Add the frosting to the crumbled cake:
* Mix with your fingers until well combined, creating a dough-like consistency.
Step 6: Form Cake Balls
Shape the mixture into small balls using your hands. Make sure they are uniform in size for even decoration.
Step 7: Chill for Firmness
Place the formed balls into the refrigerator for at least 2 hours. This will help them harden and hold their shape during dipping.
Step 8: Melt Candy Melts
Melt the Candy Melts in a microwave-safe bowl:
* Heat in 30-second intervals on medium power until completely melted, stirring between intervals.
Step 9: Insert Sticks
Dip one end of each stick into melted Candy Melts:
* Insert it into each cake ball and let them set. You can place them in the freezer to speed up this process (about 20 minutes).
Step 10: Dip in Candy Melts
Once firm, dip each pop completely into melted Candy Melts:
* Gently shake off excess coating before placing on parchment paper.
Step 11: Decorate Your Pops
Sprinkle your toppings such as chopped candy, nuts, or sprinkles onto each pop while the coating is still wet. Let them sit until fully set before serving.
Enjoy these creative Halloween Cake Pops at your next gathering!
How to Serve Halloween Cake Pops
Halloween Cake Pops are not just a treat; they are a fun and festive addition to your Halloween celebration. These adorable cake pops can be served in various ways to delight your guests and enhance the spooky atmosphere.
Fun Party Displays
- Cake Pop Stand: Use a decorative stand to display your cake pops upright. This adds height and visual interest to your dessert table.
- Themed Plates: Serve the cake pops on plates with Halloween designs, such as pumpkins or ghosts, to keep the theme consistent.
Individual Treat Bags
- Cellophane Bags: Wrap each cake pop in a clear cellophane bag and tie it with an orange ribbon. This makes for a cute take-home treat for guests.
- Label Tags: Attach small tags with fun names like Mummy Pops or Frankenstein Treats for an extra touch.
Dessert Buffets
- Mix and Match: Include a variety of Halloween-themed desserts alongside your cake pops, like ghost-shaped cookies or spider cupcakes, for a colorful buffet.
- Interactive Stations: Set up a decorating station where guests can add their own toppings to the cake pops before enjoying them.
How to Perfect Halloween Cake Pops
To ensure your Halloween Cake Pops are a hit at any gathering, follow these essential tips.
- bold Use Quality Ingredients: Opt for high-quality cake mix and frosting for the best flavor and texture.
- bold Ensure Proper Cooling: Allow the baked cake to cool completely before crumbling it; this helps achieve the right consistency.
- bold Maintain Consistent Size: Roll your cake balls into uniform sizes for even coating and presentation.
- bold Chill Before Dipping: Refrigerate or freeze the formed cake balls before dipping them in melted Candy Melts; this prevents them from falling off the stick.
- bold Work Quickly with Melts: Melt Candy Melts in small batches, as they can harden quickly; dip each pop immediately after melting.
- bold Experiment with Toppings: Get creative with decorations like edible glitter, colored sprinkles, or themed candies for added flair.
Best Side Dishes for Halloween Cake Pops
Pairing side dishes with your Halloween Cake Pops can create a delightful dining experience. Here are some tasty options that complement these festive treats perfectly.
- Bold Monster Veggie Platter: Create a colorful array of veggies shaped like monsters using bell peppers, cucumbers, and carrots, served with a spooky dip.
- Bold Witch’s Brew Soup: A creamy pumpkin soup that adds seasonal flavor; serve it in small cups for easy enjoyment.
- Bold Spooky Cheese Board: Assemble an assortment of cheeses and crackers with ghost-shaped cheese slices to please savory palates.
- Bold Creepy Eyeball Pasta Salad: Prepare pasta salad with olives as eyeballs; it’s both creepy and delicious!
- Bold Ghoulish Guacamole: Serve guacamole in hollowed-out mini pumpkins alongside tortilla chips for a festive dip option.
- Bold Fiery Nachos: Layer chips with cheese, jalapeños, and salsa for an exciting appetizer that pairs well with sweet treats.
Common Mistakes to Avoid
Avoiding mistakes can make your Halloween Cake Pops turn out perfectly. Here are some common pitfalls and how to steer clear of them.
-
Bold consistency: Failing to properly crumble the cake can lead to uneven pops. Make sure to crumble until there are no large chunks remaining for a smooth texture.
-
Bold chilling: Not chilling the cake balls long enough can result in melting during coating. Chill in the refrigerator for at least 2 hours to ensure they hold their shape.
-
Bold melting: Overheating Candy Melts can cause them to seize up. Always melt them in short intervals, checking frequently for a smooth consistency.
-
Bold decorating: Skipping the decoration step can make your Halloween Cake Pops look plain. Get creative with toppings like sprinkles or candy eyes to enhance their spooky appeal.
-
Bold storage: Neglecting proper storage can lead to stale cake pops. Keep them in an airtight container to maintain freshness and texture.
Storage & Reheating Instructions
Refrigerator Storage
- Store in an airtight container.
- Keep in the refrigerator for up to one week for best freshness.
Freezing Halloween Cake Pops
- Wrap each cake pop individually in plastic wrap.
- Place wrapped pops in a freezer-safe bag or container, and they will last for up to 3 months.
Reheating Halloween Cake Pops
- Oven: Preheat oven on low (around 200°F) and warm cake pops for about 5 minutes.
- Microwave: Heat for 10-15 seconds on low power; check frequently.
- Stovetop: Use a double boiler to gently warm them, ensuring not to melt the coating.
Frequently Asked Questions
What are Halloween Cake Pops?
Halloween Cake Pops are bite-sized treats made from crumbled cake mixed with frosting, shaped into balls, and coated with colorful Candy Melts, often decorated festively for Halloween.
Can I use any cake mix for Halloween Cake Pops?
Yes! You can use any favorite cake mix, whether vanilla or chocolate, as a base for your Halloween Cake Pops.
How do I decorate my Halloween Cake Pops?
You can decorate your Halloween Cake Pops with sprinkles, candy eyes, or even edible glitter. Get creative based on spooky themes!
How long do Halloween Cake Pops last?
When stored properly in an airtight container, they will remain fresh in the refrigerator for up to one week and can be frozen for up to three months.
Final Thoughts
These Halloween Cake Pops are a delightful treat that brings fun and creativity to any gathering. Their versatility allows you to customize flavors and decorations according to your theme. Give this recipe a try and impress your guests with these spooky delights!
Halloween Cake Pops
Get ready to treat your guests with these delightful Halloween Cake Pops! These whimsical, bite-sized treats are not only visually appealing but also incredibly fun to make. Perfectly suited for Halloween gatherings, these cake pops can be customized to resemble spooky characters like mummies and pumpkins, ensuring they capture the festive spirit. With a moist cake center and a sweet candy coating, they are sure to please both kids and adults alike. Involve the little ones in decorating for an engaging family activity, or showcase them at your party for a thrilling dessert display.
- Prep Time: 20 minutes
- Cook Time: 40 minutes
- Total Time: 1 hour
- Yield: Approximately 24 servings 1x
- Category: Dessert
- Method: Baking
- Cuisine: American
Ingredients
- 1 box favorite cake mix
- 1 3.4 oz box instant pudding mix
- 4 eggs
- 1 cup water
- 1/3 cup vegetable oil
- 1 cup frosting
- Candy melts (varied colors)
- Toppings (sprinkles, candy eyes)
Instructions
- Preheat your oven to 350°F and grease a 13 x 9 inch pan.
- In a mixing bowl, combine the cake mix, pudding mix, eggs, water, and oil. Mix on medium speed for about 2 minutes until blended.
- Pour the batter into the prepared pan and bake for 30-40 minutes or until a toothpick comes out clean. Allow to cool.
- Crumble the cooled cake into a large bowl and mix in frosting until combined.
- Roll mixture into uniform balls and chill in the refrigerator for at least 2 hours.
- Melt candy melts in a microwave-safe bowl; dip sticks into melted candy before inserting them into each cake ball.
- Dip each pop into melted candy melts, shake off excess coating, and decorate with toppings before allowing to set.
Nutrition
- Serving Size: 1 serving
- Calories: 150
- Sugar: 15g
- Sodium: 80mg
- Fat: 6g
- Saturated Fat: 2g
- Unsaturated Fat: 4g
- Trans Fat: 0g
- Carbohydrates: 21g
- Fiber: <1g
- Protein: <2g
- Cholesterol: 30mg

